In the following tutorial we will create a Java Google App Engine example. The application will display the typical “Hello World” greeting when it is invoked. We’ll develop all the source code in Eclipse with the help of the GAE plugin for Eclipse, test the application through Google App Engine Runtime (included within the plug in) and finally we will deploy it to the GAE account.
1.- Prerequisites
- Eclipse IDE.
- GAE Eclipse Plugin for Eclipse.
- A Google App Engine account (to test the app in GAE)
2.- Create the GAE Project
Once you have installed the GAE Plugin for Eclipse, a new icon (a blue “g”) will be shown in the tool bar. Click it and a menu will be displayed.
Select New Web Application Project.
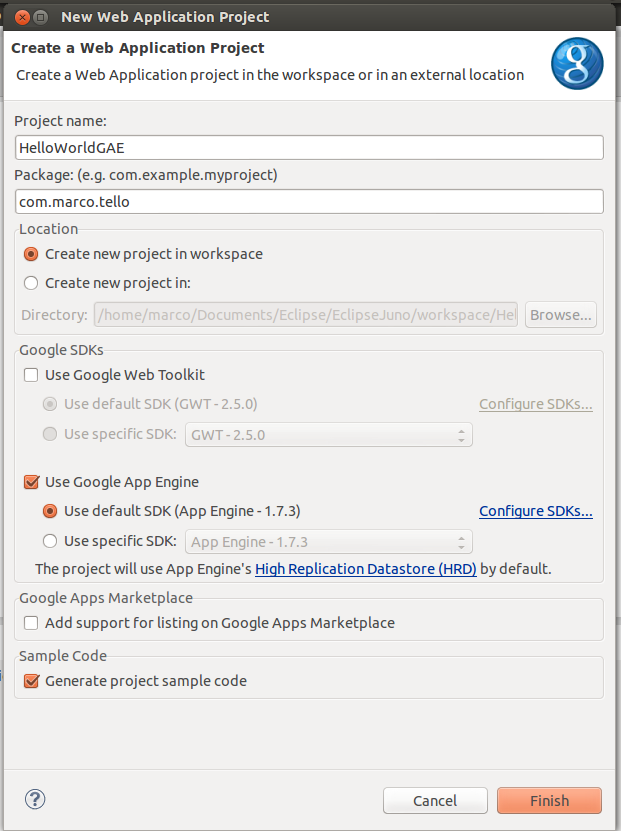
A new wizard appears and you have to put the information about your project.
Make sure that the Use Google Web Toolkit is unchecked, then click Finish.
3.-Code your Project
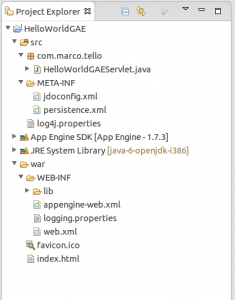
The created project will have this structure:
The structure of the project is like a typical Web project with some extra libraries and a appengine-web.xml , which we will look into later.
As you can see, a Servlet is created. In this Servlet you will put all the logic for the incoming requests that your application will have.
In this example we will return Hello world from GAE , so let’s take a look into the code.
|
1 2 3 4 5 6 7 8 9 10 11 12 13 |
package com.marco.tello; import java.io.IOException; import javax.servlet.http.*; @SuppressWarnings("serial") public class HelloWorldGAEServlet extends HttpServlet { public void doGet(HttpServletRequest req, HttpServletResponse resp) throws IOException { resp.setContentType("text/plain"); resp.getWriter().println("Hello world from GAE"); } } |
4.- Test your Application Local
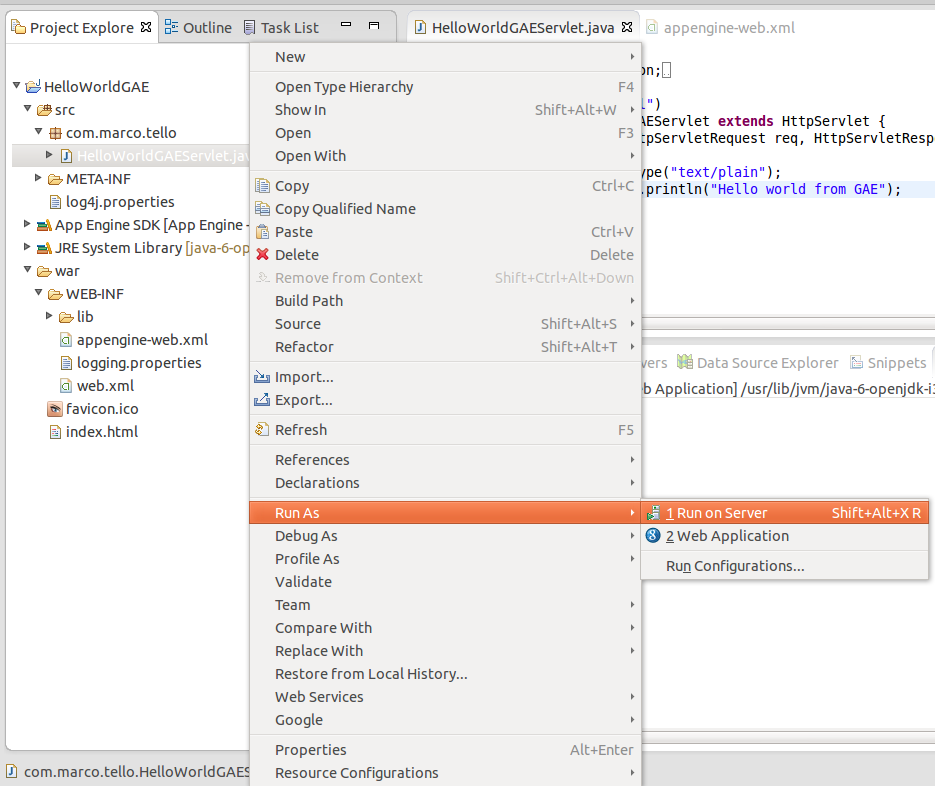
At this point you can test your application in your local environment. Right click on HelloWorldGAEServlet.java->Run As->Web Application.
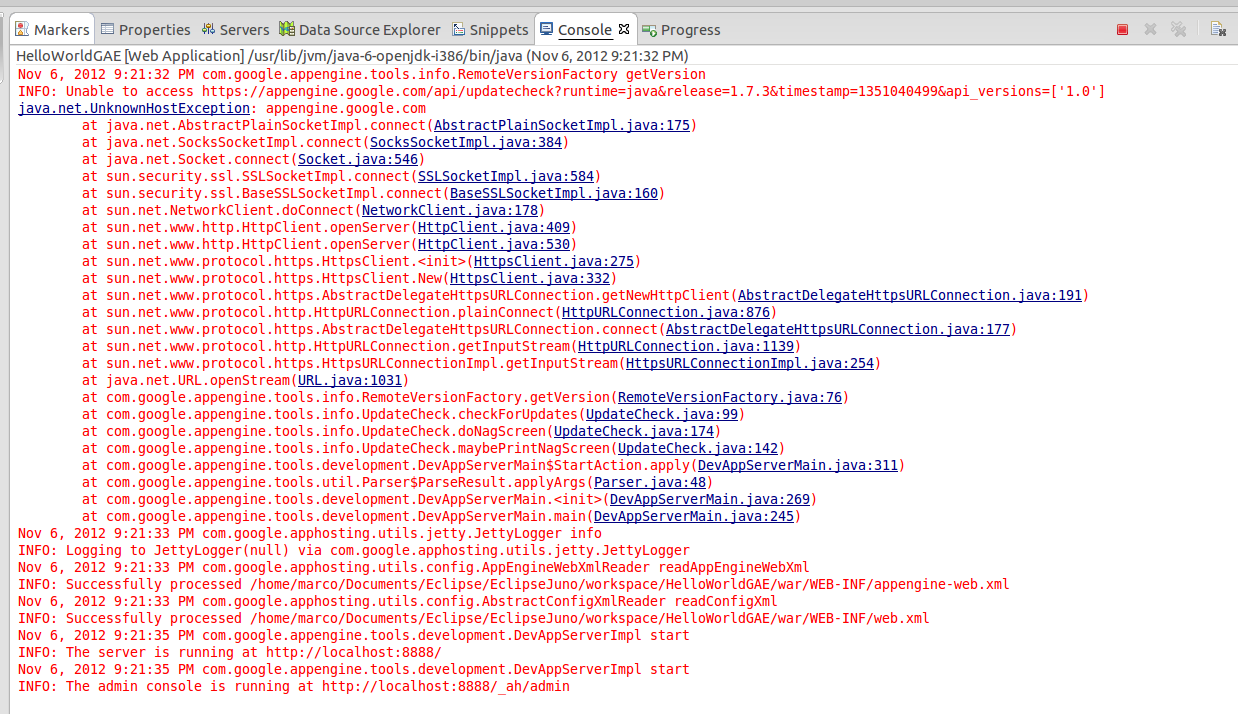
You will see the embedded server starting and when the deploy is ready, something like this will show in the Console tab.
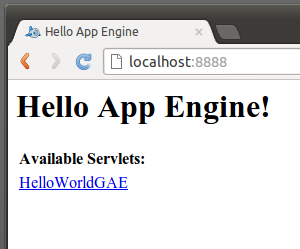
Open a browser and go to http://localhost:8888/. The main Google App Engine screen comes up.
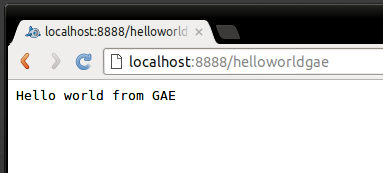
If you click on HelloWorldGAE you will see the greeting from the servlet you just modified.
That’s it!
5- Deploy to Google App Engine
For this step you have to create an account in https://appengine.google.com/ and register you application. Google will only let you register 10 application, so be careful!
Modify the appengine-web.xml with the name of your registered application. In my case it is marcotello-test.
|
1 2 3 4 5 6 7 8 9 10 11 12 13 14 15 16 17 18 19 20 21 22 23 24 25 26 27 28 29 30 31 |
<?xml version="1.0" encoding="utf-8"?> <appengine-web-app xmlns="http://appengine.google.com/ns/1.0"> <application>marcotello-test</application> <version>1</version> <!-- Allows App Engine to send multiple requests to one instance in parallel: --> <threadsafe>true</threadsafe> <!-- Configure java.util.logging --> <system-properties> <property name="java.util.logging.config.file" value="WEB-INF/logging.properties"/> </system-properties> <!-- HTTP Sessions are disabled by default. To enable HTTP sessions specify: <sessions-enabled>true</sessions-enabled> It's possible to reduce request latency by configuring your application to asynchronously write HTTP session data to the datastore: <async-session-persistence enabled="true" /> With this feature enabled, there is a very small chance your app will see stale session data. For details, see http://code.google.com/appengine/docs/java/config/appconfig.html#Enabling_Sessions --> </appengine-web-app> |
Once you save the changes, click on the g icon in the tool bar and select Deploy to App Engine…
At this point you will have to log in with your Google account and the deployment will start.
When the deployment is finished, the following message will show up in the Eclipse console:
Deployment completed successfully
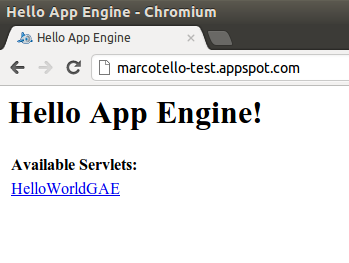
Test the application in the browser with the name of your registered application followed by appspot.com. In my case it’s http://marcotello-test.appspot.com/
Enjoy!


